Car Page
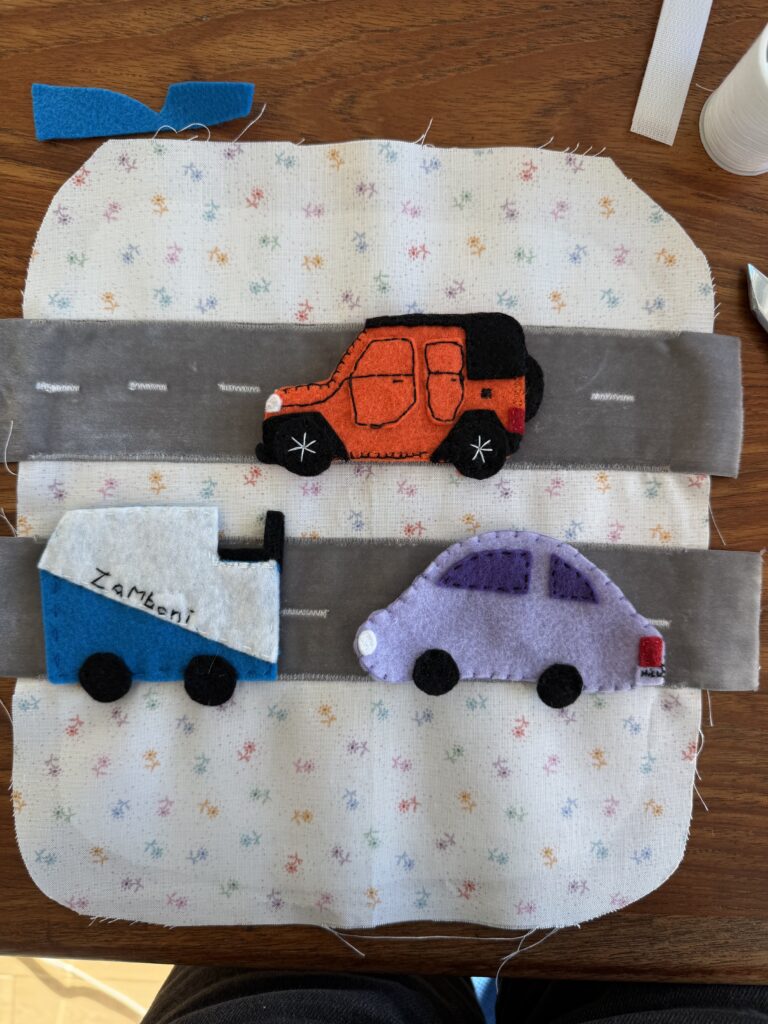
I spent so much time working on this page and I am so happy with how it came out. Each Friday after class I go to my grandmas house to work on my book as the sewing machine is at her house. This means in the week leading up to the Friday I work on all the small parts of the book that have to be hand sewn so I can use all my time at her house to sew things needing the sewing machine. I spent countless hours working on my cars this week making sure every detail was perfect. The family I am making this for is a big hockey family which explains the Zamboni and the mom and dad work at a local car dealership that sells Jeeps which is why I made the Jeep. The Jeep has so many different layers of felt so I had to plan out how I was going to approach it. After cutting out all the parts of the car that I needed I placed them down and layered it to make sure I liked how it looked, I then went and sewed the parts in the same sequence I lay them out in.
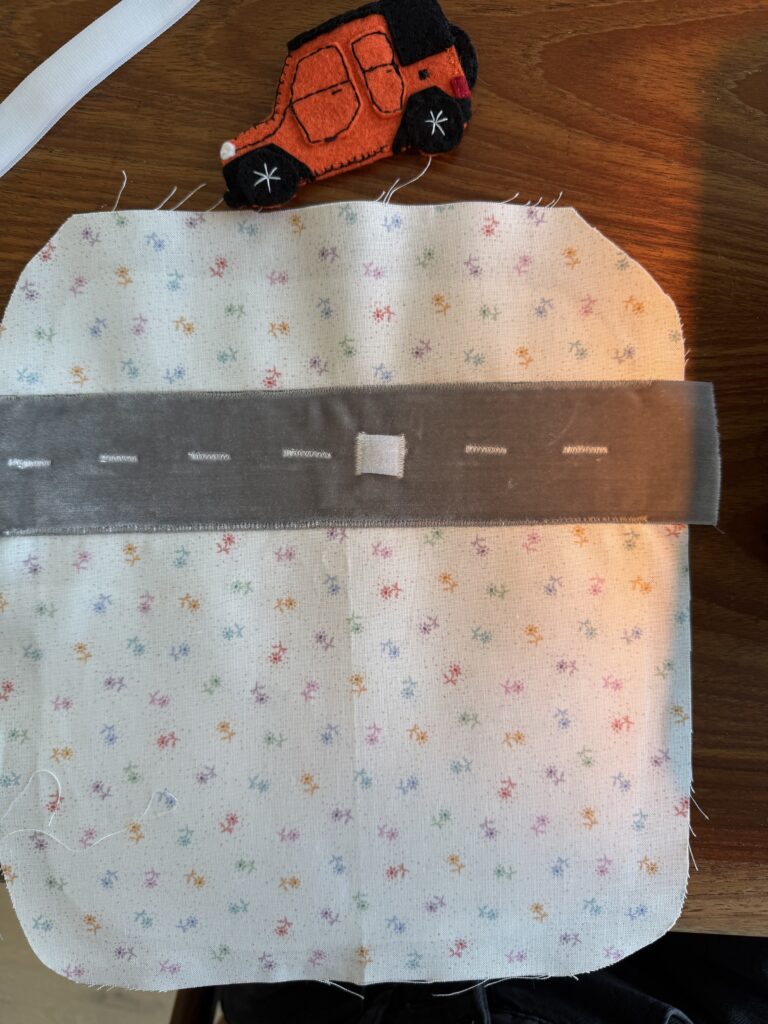
I am glad I did this planning ahead of time as I usually just go right into a project without a lot of planning but I wanted to make sure my Jeep looked like a Jeep. When doing the interactive pages I have to sew on velcro to the back of the object and onto the page so that the parts can be taken on and off the page. When doing multiple interactive parts of one page I have to make sure I attach the same side of the velcro to the page for all of them and the other side onto the objects. Unfortunately I did not do enough planning for this page as I made a mistake with my velcro attachment. The Jeep and purple car have the soft side of the velcro on the road and the hard side on the car but the Zamboni is the opposite which is okay and not the end of the world it just means that the Zamboni can only be attached to that part of the road. This was a learning opportunity for me and as I move through other parts of the book with Velcros I will ensure I attach them correctly.